Wi-Fi Sync
Sync data across devices over your local network.
Enpass Wi-Fi Sync lets you to sync your data between various devices connected to the same network, cloudlessly. If you want to ensure your data never leaves your local network then this is for you.
A desktop, working as a WLAN server, lets other devices on your network, connect and sync.
Requirements
- At least one desktop is required to operate the Enpass Wi-Fi Sync server.
- All devices must be connected to the same network in order to sync data.
Configuring Wi-Fi Sync
Enpass Wi-Fi Sync is a small WebDAV file server under the hood, restricted to a folder of your shared vaults. Since the server is on your local machine, its address is made discoverable by the Enpass client on your other devices via the mDNS protocol. Enpass client on other devices can discover running Wi-Fi Sync Server on the network and pair with it. The pairing can be done manually by verifying a code (to verify the server’s certificate) and access code (password for server) or by scanning a QR code that embeds all information required.
After successfully pairing with the server, the sync process continues like any other cloud sync over https. The client will detect any change in the IP address of the server by resolving mDNS.
Step 1: Setting up the Wi-Fi Sync Server
The first step is to start Wi-Fi Sync Server from the Enpass on a desktop. Once the server has been started, you need to add the vaults to server to make them available to other devices on the network. Here are step by step instructions:
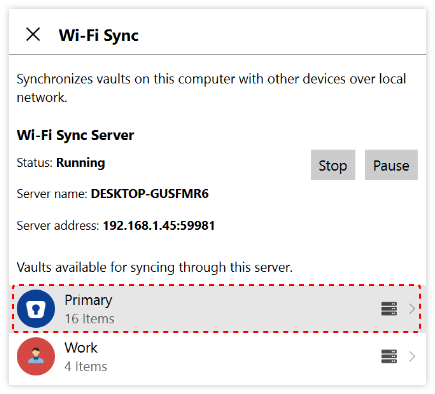
- Go to Enpass Settings → Wi-Fi Sync.
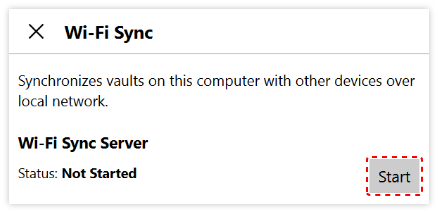
- Start Wi-Fi Sync Server.
- Once the server is started, a list of available vaults will be displayed.
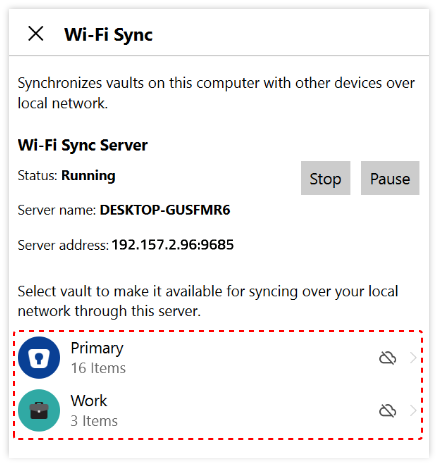
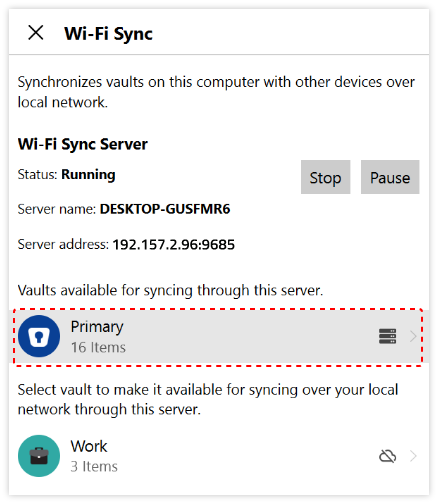
- Select vaults you want to serve over your local network. Only the added vaults will be available to other devices for syncing data through Enpass.
Step 2: Connecting other devices to the server
If you’re using iOS 14 or later on your iPhone or iPad, open the Settings app and tap Enpass. Make sure the Local Network is turned on.
Once the Wi-Fi Sync Server starts running, follow the instructions below to set up Wi-Fi Sync on iOS devices.
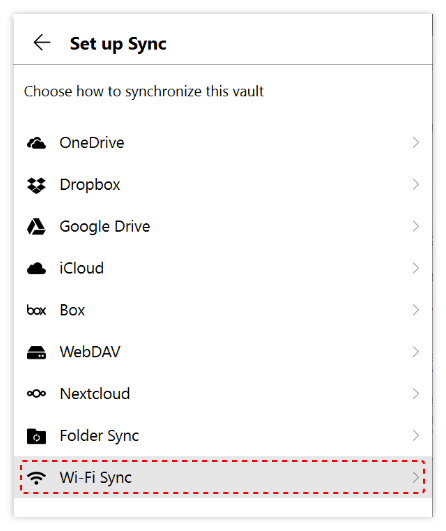
- Proceed to set up vault-sync through “Wi-Fi Sync” option.
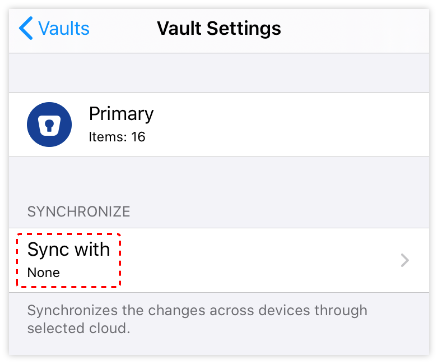
- You can complete the setup in one go by scanning the QR code or choose to set it up manually.
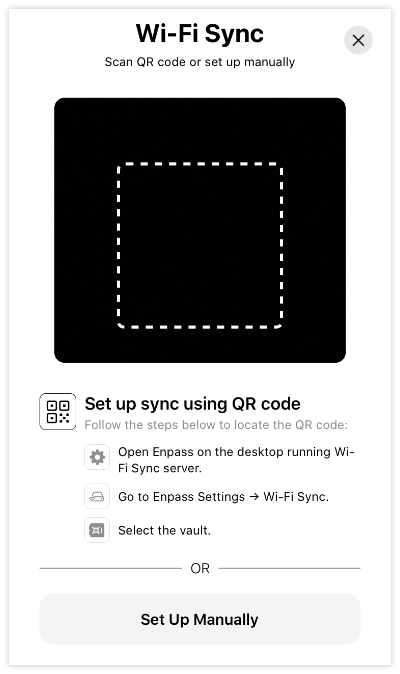
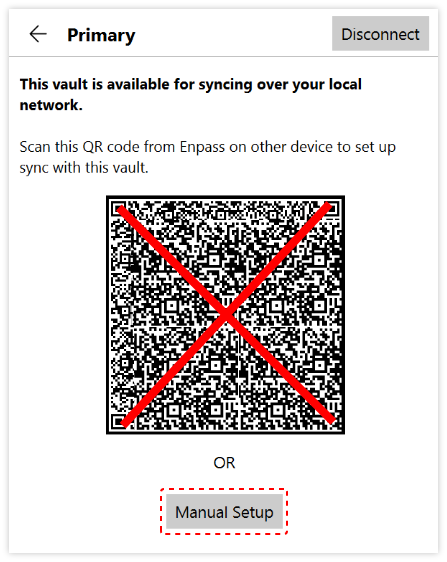
- You will find this QR code on the Enpass desktop app running the Wi-Fi Sync Server. Open Enpass on your desktop device. Go to Wi-Fi Sync, click the vault you want to scan > Scan the QR code using Enpass on your mobile device.
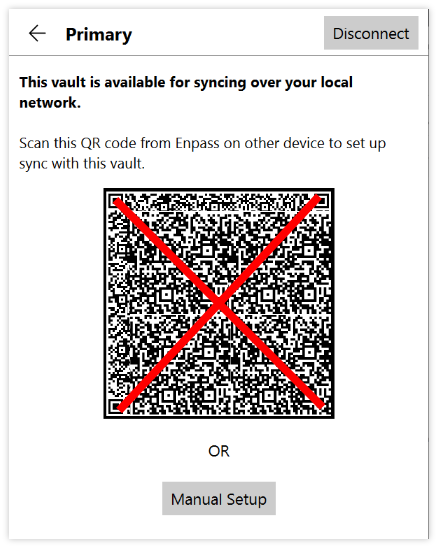
- Once the code is scanned, the Wi-Fi Sync gets configured.
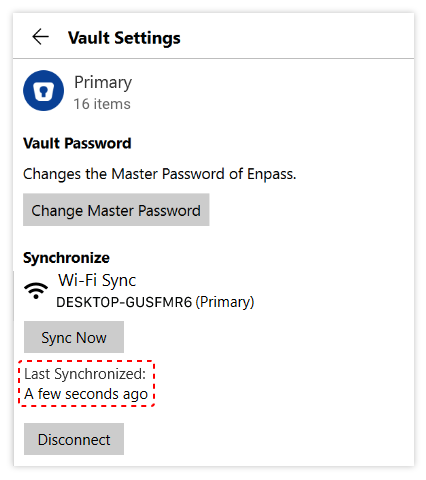
Once the Wi-Fi Sync Server gets running, follow the instructions to enable Wi-Fi Sync on the desktop devices
- Open Enpass on your desktop device running the server. Go to Settings > Wi-Fi Sync > Select the vault you want to sync > Manual Set up.
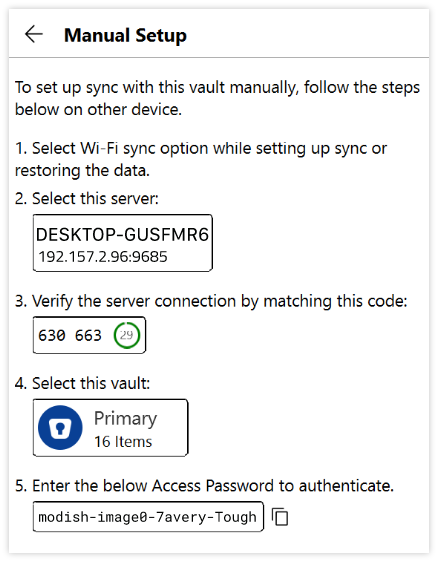
- Now open Enpass on another desktop device. Go to Settings > Vaults > Select the vault you want to sync.
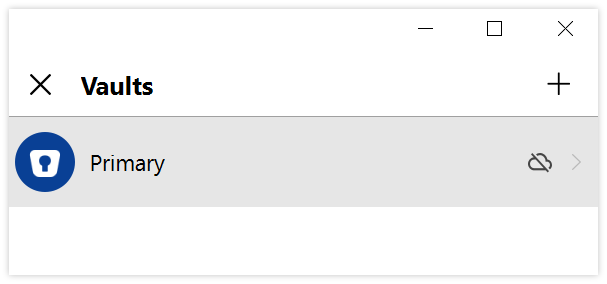
- Click on set up Sync > Wi-Fi Sync.
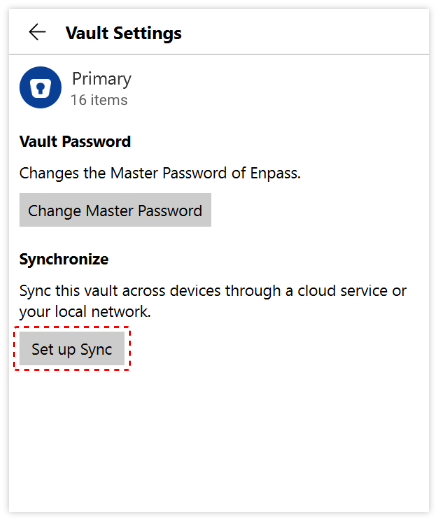
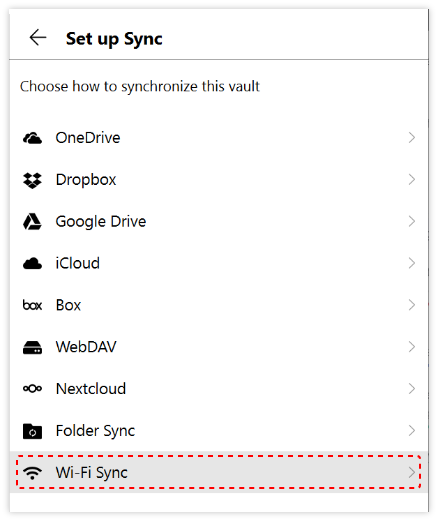
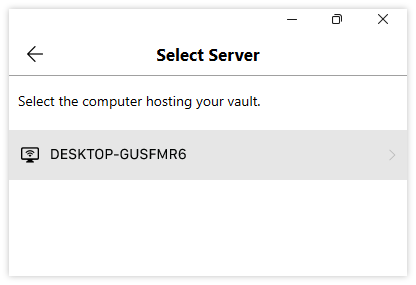
- Select the same Wi-Fi server displayed on the desktop device running the Wi-Fi server.
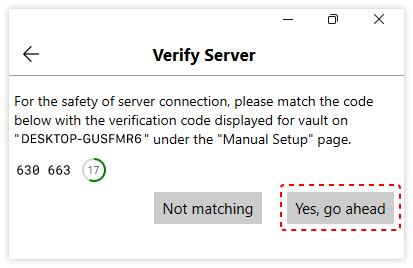
- Verify the connection with the code and click Yes, go ahead.
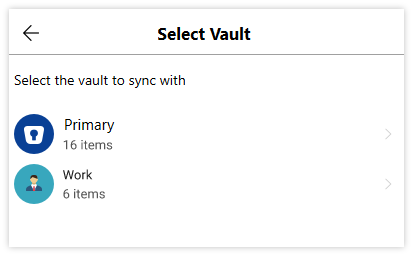
- Select the vault you want to sync.
- Enter the Access Password displayed on the manual setup page of the Enpass desktop app.
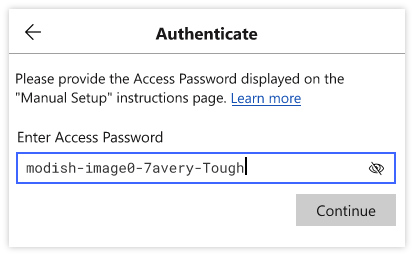
- Once the password is entered, wait till the Sync is successfully configured.
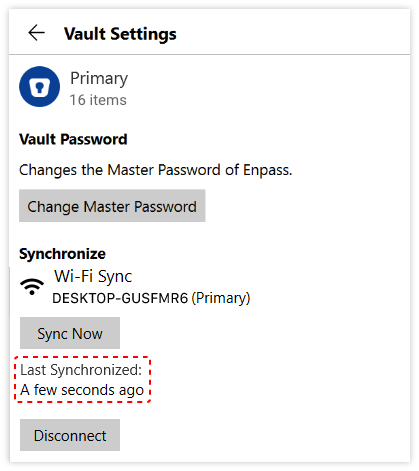
Once the Wi-Fi Sync Server gets running, follow the instructions below to set up Wi-Fi Sync on the Android devices.
- Proceed to set up vault-sync through “Wi-Fi Sync” option.
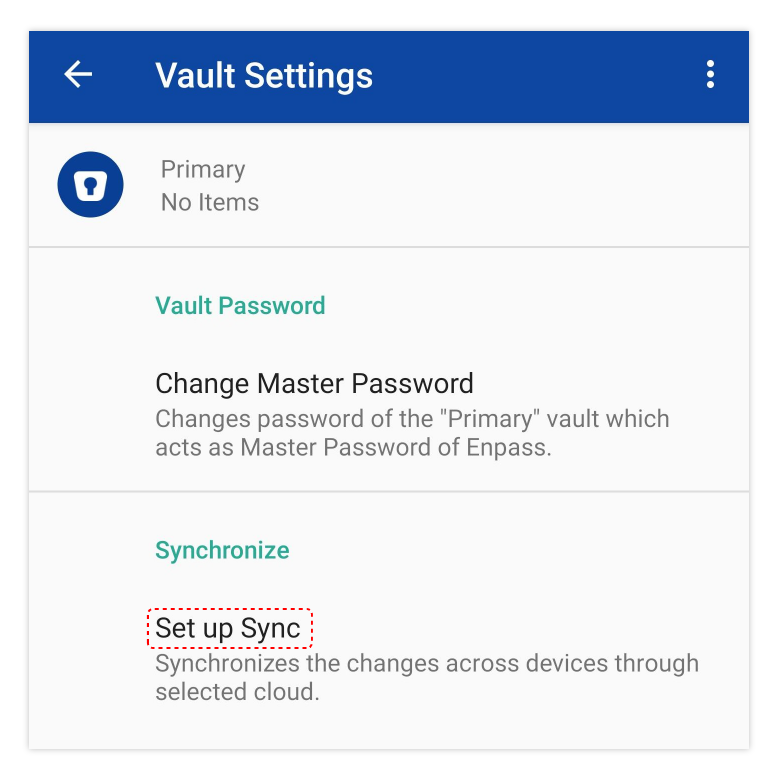
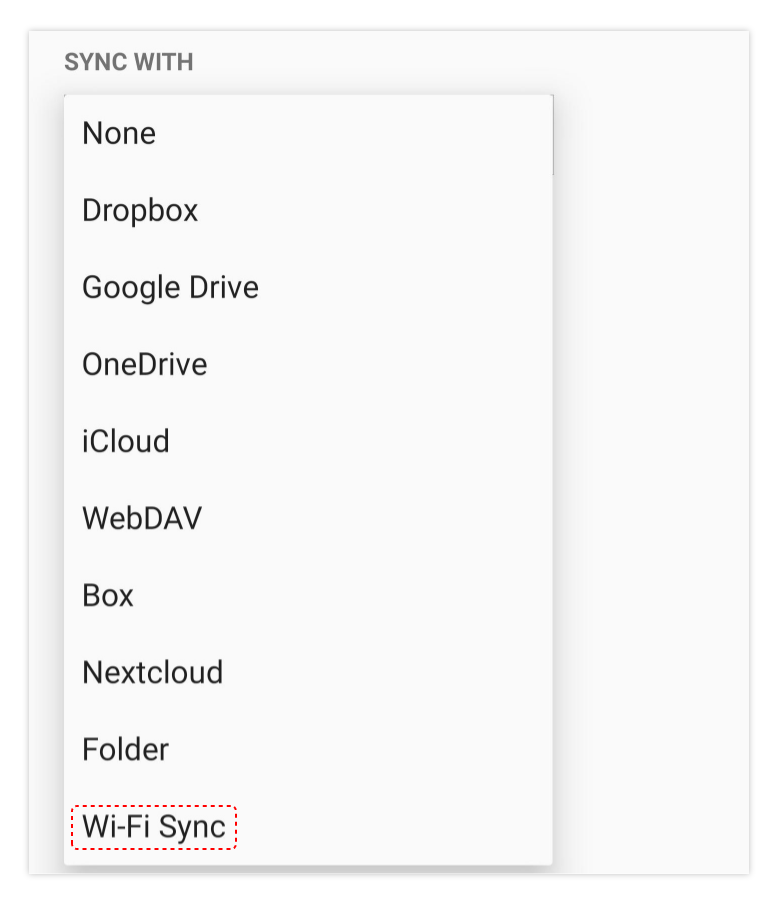
- You can complete the setup in one go by scanning the QR code or can choose to set it up manually.
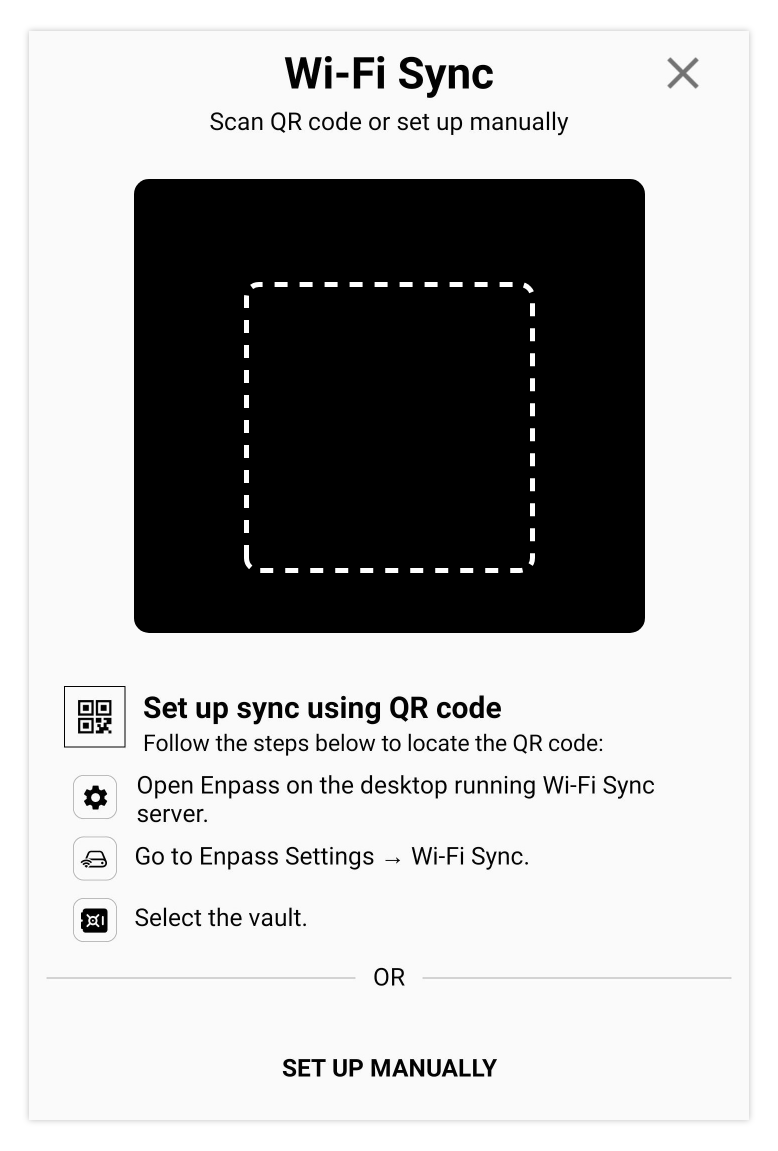
- You can find this QR code on the Enpass desktop app running the Wi-Fi Sync Server. Open Enpass on your desktop device. Go to Wi-Fi Sync, click the vault you want to scan > Scan the QR code using the Enpass on mobile device.


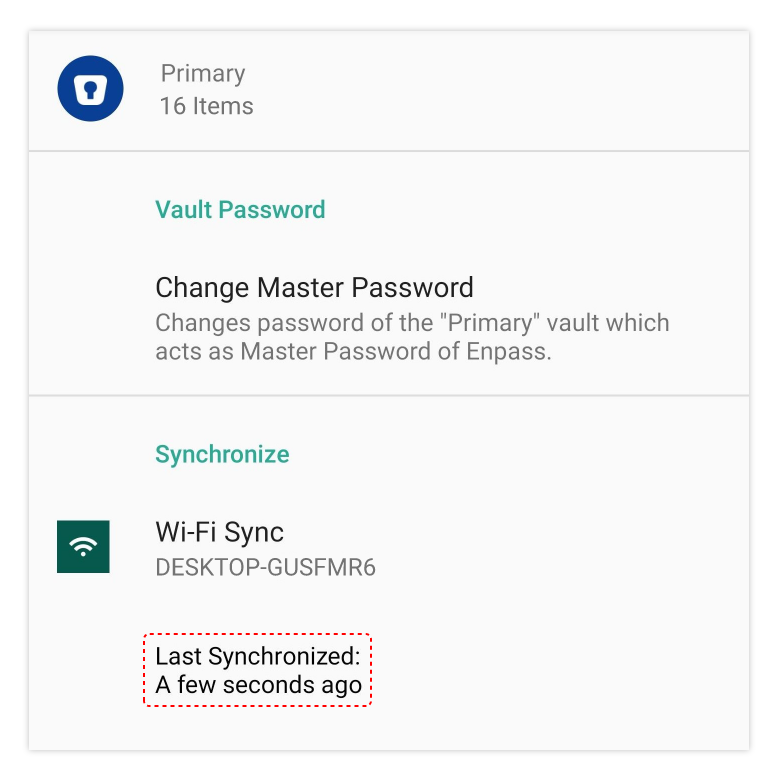
- Once the code is scanned, the Wi-Fi Sync gets configured.
Need more help?
- Learn how to troubleshoot Wi-Fi Sync.
- Start a discussion in Enpass Support Communities.